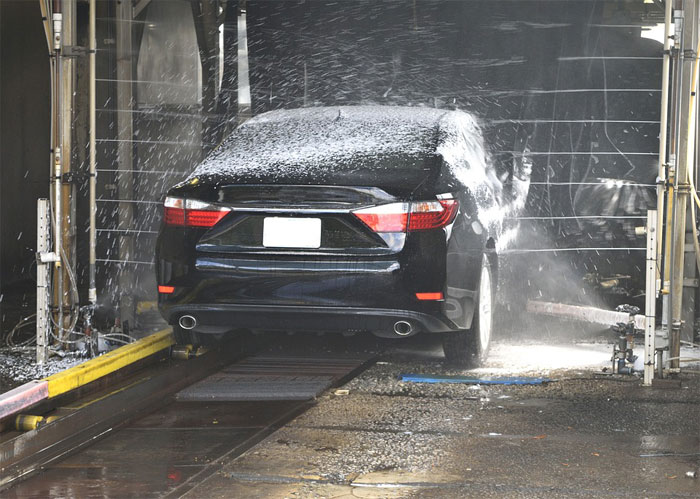
Over 60% of car owners apply fresh wax on top of old, degraded layers — creating a hazy, uneven finish that actually traps contaminants against the paint. Knowing how to remove car wax properly is the foundation of any successful detailing routine, yet most people skip this critical step entirely. Whether you're prepping for a paint correction, switching wax brands, or just noticing that your car's shine has gone flat, stripping old wax is simpler than you think. In this guide, we'll walk you through every method, tool, and technique you need to get your paint back to a clean slate. If you're into hands-on automotive maintenance, this is one skill you'll use for years.
Old wax doesn't just look bad — it prevents new protection products from bonding to your clear coat. If your sealant or ceramic coating isn't lasting as long as advertised, leftover wax residue is often the culprit. The good news: you don't need expensive equipment or professional training. A few household-friendly products and the right technique will handle 90% of situations.
The process works similarly to removing decals from your car — patience and the right solvent matter more than brute force. Let's break down exactly what you need and how to do it safely.
Contents
Wax Removal Essentials: Products and Prep
Before you touch your paint, gather the right supplies. Using the wrong product — or the right product incorrectly — can leave swirl marks or strip your clear coat. Here's what actually works for removing car wax safely.
Chemical Wax Strippers
Dedicated wax-stripping products are formulated to dissolve wax polymers without attacking paint. They're your safest bet for a thorough removal.
- Isopropyl alcohol (IPA) solution — Mix at 10-15% with distilled water for light removal, or up to 50% for stubborn synthetic wax
- Pre-wax cleaners — Products like Chemical Guys Clean Slate or CarPro Eraser are purpose-built for this job
- All-purpose cleaner (APC) — Diluted at 10:1, an APC breaks down most natural carnauba waxes
- Dawn dish soap — The classic budget option; cuts through wax effectively but strips everything, including any sealant layers you want to keep
Household Alternatives That Work
You don't always need specialty products. Several common items dissolve wax effectively:
- White vinegar (diluted 1:3 with water)
- Rubbing alcohol (70% IPA from the pharmacy)
- Mineral spirits (use sparingly, test first)
- Baking soda paste (gentle abrasive action)
| Method | Effectiveness | Paint Safety | Cost | Best For |
|---|---|---|---|---|
| IPA 15% solution | High | Very Safe | Low | Pre-coating prep |
| Pre-wax cleaner | Very High | Very Safe | Medium | Full strip before new wax |
| Dawn dish soap | Medium-High | Safe | Very Low | Budget-friendly removal |
| Clay bar | Medium | Safe (with lube) | Medium | Embedded contaminants + wax |
| APC (10:1) | Medium | Safe | Low | Light wax layers |
| Mineral spirits | Very High | Moderate risk | Low | Stubborn synthetic wax (spot use) |
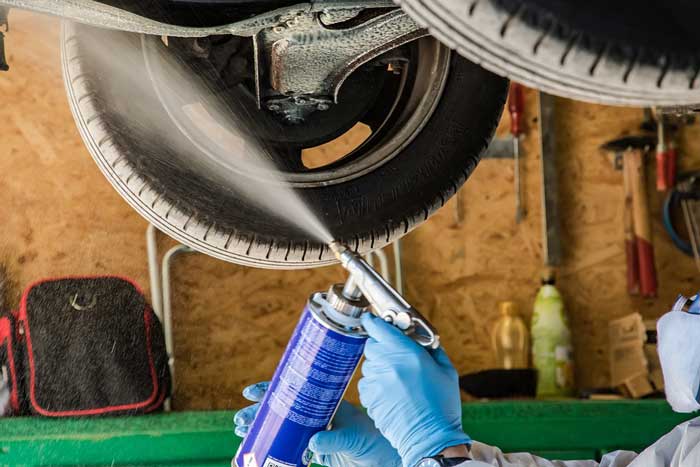
Step-by-Step Wax Removal Process
Now that you have your products ready, here's the exact process to remove car wax without leaving residue or damaging your finish.
Always Wash First
Never apply a wax stripper to a dirty car. Dirt particles become abrasives the moment you start wiping.
- Rinse the car thoroughly with a pressure washer or hose to remove loose debris
- Wash with a pH-neutral car shampoo (not your wax-stripping soap yet — that comes next)
- Dry completely with a microfiber drying towel
- Move the car to shade or a garage — direct sunlight causes premature evaporation of your stripping agent
Application Technique
Work in 2×2 foot sections. This keeps the product from drying before you can wipe it away.
- Apply your chosen stripper to a clean microfiber applicator pad
- Spread it evenly over one panel using straight-line motions (never circular)
- Let it dwell for 30-60 seconds — this gives the solvents time to break the wax bond
- Wipe away with a fresh, dry microfiber towel
- Flip the towel and buff once more to ensure no residue remains
- Run the water bead test: spray water on the stripped area. If it sheets off flat instead of beading, the wax is gone
- Repeat on the next section, using a fresh towel side each time
For synthetic waxes or paint sealants that resist the first pass, repeat the application on stubborn areas. Two light passes always beat one heavy-handed scrub. This patience-over-force approach is similar to how you'd carefully restore a tonneau cover without damaging the material.
Mistakes That Damage Your Paint
Wax removal seems straightforward, but these common errors send people to the body shop for paint correction.
Overly Aggressive Methods
- Using a buffer on dry paint — Without lubrication, rotary buffers burn through clear coat in seconds
- Applying undiluted solvents like acetone or lacquer thinner — these attack the clear coat itself, not just the wax
- Scrubbing with terry cloth or old rags — the rough fibers leave micro-scratches that show up in direct light
- Using magic erasers (melamine foam) — they're fine abrasives that will dull your finish permanently
Skipping Critical Steps
- Not washing first — you grind dirt into paint during the wipe-off phase
- Working in direct sunlight — the stripper evaporates before it can dissolve the wax, leaving streaky residue
- Reusing dirty towels — you're just redistributing dissolved wax back onto the paint
- Forgetting trim and rubber — wax stripper on unpainted trim can leave white staining; tape off sensitive areas
- Skipping the water bead test — without verification, you might apply new wax over old layers
According to the Wikipedia article on automotive paint, modern clear coats are typically only 40-80 microns thick. That's thinner than a sheet of paper. Every aggressive mistake removes material you can't get back.

Beginner vs Experienced Approaches
Your experience level should dictate which method you choose. There's no shame in starting simple — and plenty of risk in jumping to advanced techniques before you're ready.
The Simple One-Product Method
If you've never stripped wax before, start here:
- Buy a dedicated pre-wax cleaner (Chemical Guys Clean Slate, Gyeon Prep, or similar)
- Wash and dry your car normally
- Apply the cleaner panel by panel with a microfiber applicator
- Wipe off with a clean microfiber towel
- Perform the water bead test on each panel
This method is virtually foolproof. Pre-wax cleaners are formulated to be safe on all automotive paints, including soft Japanese clear coats. You'd have to actively try to cause damage.
The Advanced Multi-Stage Strip
Experienced detailers use this approach when prepping for ceramic coatings or paint correction:
- Chemical decontamination — Iron remover + tar remover to eliminate bonded contaminants
- Clay bar treatment — Mechanical decontamination for anything chemical couldn't dissolve
- IPA wipe-down at 20-30% — Strips all remaining wax, sealant, and polishing oils
- Panel wipe with dedicated prep spray — Final insurance that the surface is truly bare
This four-stage process takes 2-3 hours for a full-size sedan but leaves paint in perfect condition for coating adhesion. It's similar to proper surface preparation in other automotive work — the prep determines how long the final result lasts.
| Factor | Beginner Approach | Advanced Approach |
|---|---|---|
| Time required | 30-45 minutes | 2-3 hours |
| Products needed | 1 (pre-wax cleaner) | 4-5 products |
| Risk of paint damage | Virtually none | Low (with experience) |
| Thoroughness | 90% removal | 99%+ removal |
| Cost | $15-25 | $60-100 |
| Best used before | New wax application | Ceramic coating or correction |
Building a Long-Term Wax Strategy
Knowing how to remove car wax is only half the equation. Smart planning reduces how often you need to strip and re-apply, saving you time and protecting your paint from unnecessary chemical exposure.
When to Strip vs. Layer
Not every wax application requires a full strip. Here's when each approach makes sense:
- Strip completely when:
- You're switching wax brands or types (carnauba to synthetic or vice versa)
- The existing wax has been on for 6+ months and looks hazy
- You're prepping for a ceramic coating
- You notice uneven beading (some areas bead, others don't)
- Layer on top when:
- You're using the same product as before
- The existing layer is less than 3 months old
- Beading is still uniform across all panels
- You're just topping up protection before a road trip
Choosing Your Next Protection
Once you've stripped the old wax, you have a rare opportunity: bare paint ready to accept whatever protection you choose. Consider your priorities:
- Maximum gloss — Natural carnauba paste wax (lasts 4-8 weeks)
- Maximum durability — Synthetic paint sealant (lasts 4-6 months)
- Set-and-forget protection — Ceramic coating (lasts 2-5 years, professional application recommended)
- Easy maintenance — Spray sealant (lasts 2-4 weeks, applies in minutes)
Whatever you choose, applying to properly stripped paint gives you the best possible bond strength and longevity. The same principle applies to all car maintenance — proper prep work, like using the right-sized oil filter wrench, prevents problems down the line.
Frequently Asked Questions
Does washing your car remove wax?
Regular car shampoo does not fully remove wax — it's designed to clean without stripping protection. However, harsh detergents like dish soap (Dawn) will gradually break down wax layers. If you want to preserve your wax, always use a pH-neutral automotive shampoo.
How often should you strip and reapply wax?
For most drivers, a full strip and reapply every 3-4 months is ideal for carnauba wax. Synthetic sealants last 5-6 months before needing replacement. You'll know it's time when water stops beading uniformly or the paint looks dull even after washing.
Can you apply new wax over old wax without removing it?
You can layer the same wax product on top of an existing layer if it's less than 3 months old and still beading well. However, applying new wax over degraded, hazy, or contaminated old wax traps dirt and creates an uneven finish. When in doubt, strip first.
Will rubbing alcohol damage car paint?
Isopropyl alcohol at concentrations of 15-50% diluted with water is safe for automotive clear coats and is widely used by professional detailers for panel wipe-downs. Never apply undiluted 99% IPA directly to paint, as prolonged exposure can dull the finish. Always work in small sections and wipe off promptly.
Final Thoughts
You now have everything you need to remove car wax safely and effectively — from budget-friendly household solutions to professional-grade multi-stage strips. Grab a bottle of IPA or a pre-wax cleaner, pick a shaded afternoon, and give your paint the clean foundation it deserves. Once you see how much better fresh wax bonds to properly stripped paint, you'll never skip this step again.


About Chris Lewis
Chris Lewis developed a deep knowledge of automotive filtration, maintenance, and repair through years of hands-on experience working on vehicles — a passion rooted in time spent in his father's San Francisco auto shop from an early age. He has practical familiarity with air, oil, fuel, and cabin filter systems across a wide range of vehicle makes and models, along with experience evaluating the tools and equipment that serious DIY mechanics rely on. At MicrogreenFilter, he covers automotive and motorcycle filter reviews, maintenance guides, and automotive tool recommendations.
Get FREE Filters now. Or latest free tools from our best collections.
Disable Ad block to get all the secrets. Once done, hit any button below