Ever dropped a lit cigarette in your car and watched it melt a hole right through the seat? It looks permanent — but it's not. Fixing cigarette burns in car seats is one of those DIY repairs that looks harder than it actually is. With the right kit and a clear process, most burns can be repaired at home in under an hour for less than $35. This guide covers every method, every material type, and every budget — so you walk away knowing exactly what to do.

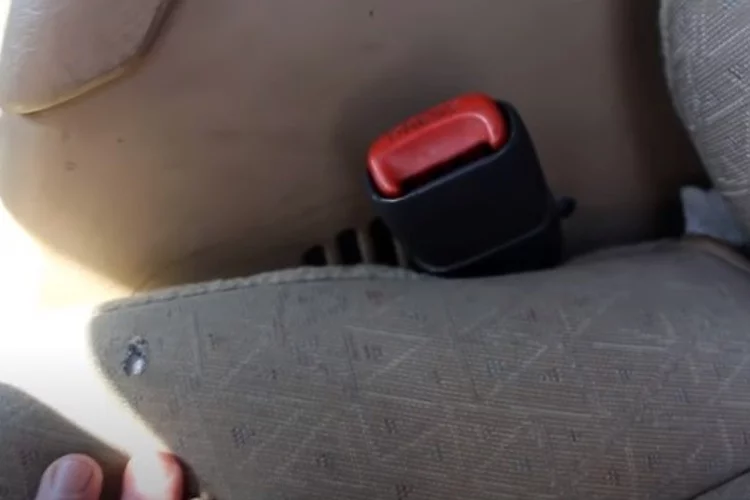
Cigarette burns damage upholstery (the fabric or leather covering on your seats and interior panels) by melting or charring material down to the base layer. On cloth seats, fibers melt together and form a rough, discolored hole. On leather or vinyl, the surface blisters, hardens, and sometimes cracks outward. Leave it alone and the damage spreads — fraying worsens, odors lock in, and your resale value drops.
This post is part of our DIY maintenance guide series, covering hands-on repairs you can handle without a shop visit. We'll cover prep, step-by-step repair methods, surface-specific techniques, cost breakdowns, and long-term prevention so your interior stays clean for the road ahead.
Contents
Tools and Materials You'll Need
Before you touch the burn, gather everything you need. Starting without the right materials is the fastest way to make the damage worse. What you need depends on your seat material — but most of these items are inexpensive and easy to find at any auto parts store or online.
Basic Supplies for Fabric Seats
- Automotive fabric repair kit — contains filler compounds and color pigments; choose kits labeled specifically for car upholstery
- Small scissors or seam ripper
- Fine-grit sandpaper (220–400 grit)
- Tweezers
- Upholstery adhesive
- Matching thread (for the thread-pull method)
- Donor fabric cut from a hidden area of the same seat
- A warm iron or heat tool for finishing
Supplies for Leather and Vinyl Repairs
- Leather and vinyl repair kit — includes flexible filler compounds and color-matching pigments; most quality kits run $20–$35
- Rubbing alcohol or dedicated leather cleaner (for surface prep)
- Fine-grit sandpaper (400–600 grit)
- Small palette knife or spatula for spreading filler
- Heat gun or hair dryer
- Grain texture pad (included in most kits) to replicate the original leather grain
- Leather finish or sealant spray
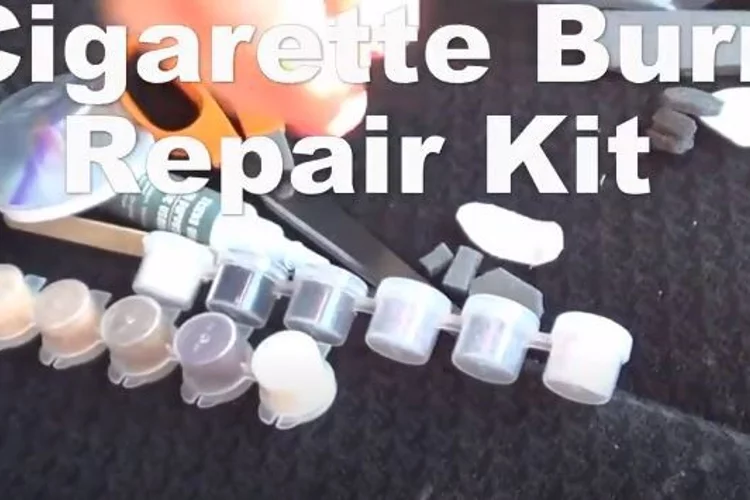
All-in-one repair kits available online handle most small burns cleanly. If your car has an unusual seat color or complex leather grain, many kit brands offer a color-matching service — just send them a photo of your seat before ordering.
How to Fix Cigarette Burns in Car Seats Step by Step
This is the core process. Follow it carefully and the repair will hold. These steps apply to most burn types — we'll flag material-specific differences where they matter.
Preparing the Burn Area
- Vacuum first — remove loose ash, debris, and charred fragments before touching anything.
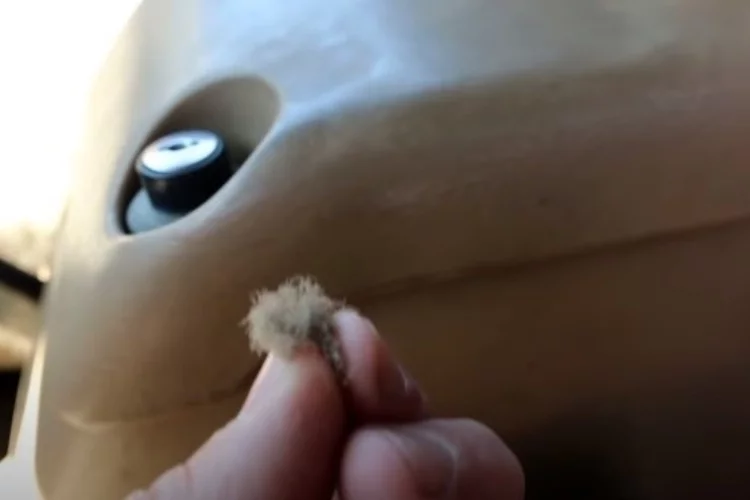
- Trim away damaged material — use small scissors to clip away melted fibers or blistered leather around the burn edge. Only remove what's clearly damaged; don't over-cut.
- Clean the surface — wipe the area with rubbing alcohol on a cotton ball to remove oils and residue. Skipping this step causes adhesives and fillers to fail.
- Sand lightly if needed — on leather or vinyl, run 400-grit sandpaper gently over the burn edge to smooth it. On fabric, skip this step entirely.
- Check the depth — is the burn surface-level, or did it reach the foam cushion? Deep burns that hit the foam need a backing patch before any filler goes on.
Repairing Fabric Seats
- Cut a small patch of donor fabric slightly larger than the burn hole.
- Apply upholstery adhesive to the back of the patch and press it into the hole as a backing layer.
- Let the adhesive cure completely — check the label, usually 10–30 minutes.
- Apply fabric filler compound over the patch, smoothing it flush with the surrounding seat surface.
- Once dry, briefly apply a heat tool to seal the surface and blend the texture.
- If the color doesn't match, use fabric paint in thin layers. Let each coat dry fully before adding the next.
Repairing Leather or Vinyl Seats
- If the burn is deep, use tweezers to insert a leather sub-patch into the hole and secure it with adhesive.
- Mix your leather filler compound to match the seat color using the pigments in your kit.
- Apply filler in thin layers with a palette knife, pressing firmly into the damaged area.
- Use a heat gun or hair dryer to cure each layer before adding the next — expect 2–4 layers total.
- While the final layer is still warm, press a grain texture pad over the repair to replicate the leather pattern.
- Finish with a leather sealant spray to protect the repair from wear and cracking.
Pro tip: Always apply filler in thin layers rather than one thick coat — thick layers crack when dry and ruin the repair. Multiple thin coats bond stronger and look far more natural.
Fixing Burns on Different Surfaces
Your approach changes based on the material you're working with. Each surface type behaves differently under heat damage, and each needs a slightly different repair strategy.
Cloth and Fabric
Fabric seats are the most forgiving. The main challenge is matching the weave and color. Your best source of donor fabric is always from a hidden spot on the same seat — under the cushion, along the bottom edge, or inside a seam. Cut a patch there and nobody will notice the difference.
- Burns under 5mm: use the thread-pull method — weave matching threads over the hole
- Burns 5–15mm: fabric patch with filler compound
- Burns over 15mm: professional reupholstery becomes worth considering
Leather
Leather repairs demand more precision. Genuine leather responds well to flexible filler compounds, but color matching is critical — a poor match stands out far more on leather than on fabric. According to basic upholstery repair principles, surface preparation before any filler application determines the majority of your final result quality.
- Clean thoroughly before repair — oils and conditioner residue prevent adhesion
- Apply a leather conditioner after the repair is complete to prevent cracking around the patch
- Avoid silicone-based products near the repair area — they prevent re-coating later if touch-ups are needed
Vinyl and Faux Leather
Vinyl is actually the easiest material to repair cleanly. It doesn't absorb moisture like real leather, and most vinyl repair compounds bond very well to the surface. The key difference: vinyl can be rigid, so use a flexible filler compound rated specifically for vinyl to prevent cracking down the road. Heat application during curing is especially important on vinyl to activate the bond fully.
Quick Wins for Minor Burns
Got a tiny, superficial burn that barely went through the surface? These two techniques fix it in under 15 minutes without a full kit.
The Matching Thread Method
This works best on woven fabric seats with small burns under 6mm. It's completely free.
- Find a hidden seam on the same seat — under the cushion or along the side panel.
- Use tweezers to carefully pull matching threads from that seam.
- Weave the threads across the burn hole, mimicking the original weave pattern as closely as possible.
- Apply a single small drop of fabric glue to secure the threads in place.
- Press flat with a warm iron through a thin cloth to set the repair.
Up close, you'll see the repair. At normal seated distance, it blends right in. And since it's the same material from the same seat, the color match is exact. The same attention to prep and precision transfers to other cosmetic car damage repairs — for example, when you need to fix a keyed car, the prep work before any filler or paint is what separates a clean result from a visible one.
Touch-Up Filler Pens
For surface burns with no hole — just a charred, discolored mark — fabric filler pens work surprisingly well. Fill the charred area, blend the color, and the repair is done. These cost $5–$10 and are small enough to keep in your glove compartment for quick fixes anywhere.
DIY vs Professional Repair
Should you fix this yourself or let a professional handle it? The honest answer depends on burn size, material, and how visible the seat is in everyday use.
What a Pro Does Differently
- Professionals use industrial-grade colorants and fillers that cure harder and outlast consumer kit compounds
- They have access to factory color codes for precise, guaranteed color matching
- Steam injection tools bond filler more deeply into leather grain for a seamless finish
- Results are typically undetectable under normal lighting — even on close inspection
That said, a skilled DIYer using a quality $20–$30 kit can get results that are 80–90% as good for burns under 15mm. The gap widens on larger burns or on premium genuine leather in luxury vehicles.
When to Call a Professional
Go professional in these situations:
- The burn is larger than a quarter coin (25mm or more)
- The foam cushion underneath is damaged or compressed
- The seat is genuine leather in a high-end or luxury vehicle
- The color is unusual, multi-tone, or has a complex embossed grain
- You've attempted a DIY fix and the result looks worse than the original burn
For interior damage that extends beyond seat burns — like torn or sagging headliner fabric — our guide on headliner replacement cost breaks down exactly what professional interior restoration typically runs.
What It Actually Costs to Fix Cigarette Burns
Here's an honest breakdown of what you'll spend depending on which repair route you take. All prices are approximate and vary by region and vehicle type.
| Repair Method | Material Cost | Labor Cost | Total Estimate | Best For |
|---|---|---|---|---|
| Thread-pull method (DIY) | $0 | $0 | Free | Tiny burns on fabric seats |
| Touch-up filler pen | $5–$10 | $0 | $5–$10 | Surface-level char marks |
| DIY repair kit (fabric) | $15–$25 | $0 | $15–$25 | Small-medium fabric burns |
| DIY repair kit (leather/vinyl) | $20–$35 | $0 | $20–$35 | Small-medium leather burns |
| Mobile detailer | Included | $50–$150 | $50–$150 | Medium burns, any material |
| Professional upholstery shop | Included | $150–$400+ | $150–$400+ | Large burns, luxury leather |
| Full seat replacement | $200–$600+ | $100–$200 | $300–$800+ | Severe or multiple large burns |
Hidden Costs to Watch For
- Custom color matching — some kit brands charge $10–$15 extra for a color-matched mix; worth it for unusual seat colors
- Multiple burns — if you have several burns to address, a larger kit is far more economical than buying individual pens for each one
- Foam padding damage — if the burn went deep into the cushion, add $30–$80 for replacement foam material
- Full seat re-dyeing — when color matching proves impossible, re-dyeing the entire seat panel runs $40–$80 in DIY materials
Keeping Your Interior Burn-Free Long-Term
Repairing a burn is satisfying. Preventing the next one is smarter. A few consistent habits and the right protective products keep your interior looking clean without repeated repair work.
Practical Prevention Tips
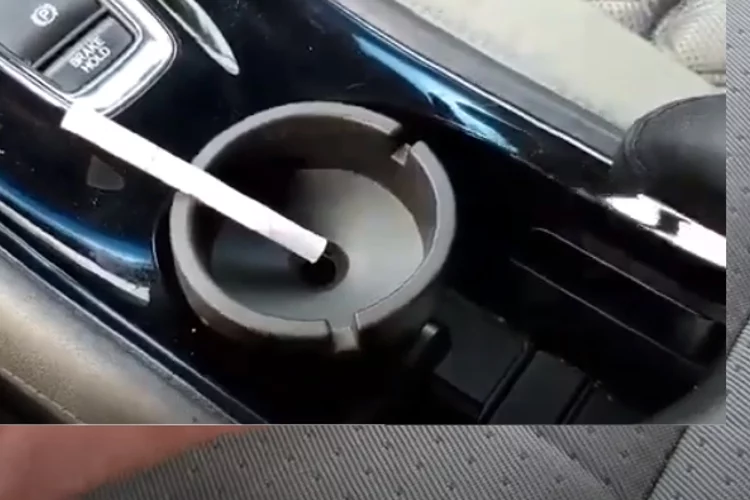
- Use your car's ashtray or a clip-on portable car ashtray every single time — they exist for a reason
- Never rest a lit cigarette on the door sill, dashboard edge, center console, or seat
- Keep a window cracked while smoking to reduce ash scatter inside the cabin
- Stub out cigarettes completely before setting them down anywhere in the car
- If you smoke in your car regularly, use a seat cover on the driver's seat — it takes the punishment so the upholstery doesn't have to
Protective Products Worth Using
- Seat covers — universal or custom-fit seat covers protect against burns, spills, and abrasion. Replacing a $30 cover beats repairing a $400 leather seat every time.
- Fabric protector spray — products like Scotchgard add a barrier layer that slows heat damage penetration and makes any cleanup far easier
- Leather conditioner — regular conditioning keeps leather supple and less prone to cracking when minor heat exposure occurs near the surface
- Console and armrest covers — protect the surfaces most likely to catch a falling cigarette, including the center console and door panel armrests
Frequently Asked Questions
Can you completely hide a cigarette burn in a car seat?
On small burns under 10mm, a properly applied repair kit makes the damage nearly invisible under normal lighting. Larger burns can be reduced to a minor blemish, but complete invisibility isn't always achievable with DIY methods — a professional repair closes that gap significantly, especially on leather.
How long does a DIY cigarette burn repair last?
A well-executed repair using quality filler compounds typically holds for 2–5 years before showing wear. Leather repairs last longer than fabric repairs, especially when finished with a protective sealant. High-friction areas like the driver's seat may need touch-ups sooner depending on daily use.
Does repairing a cigarette burn affect car resale value?
Yes — visibly damaged upholstery is one of the first things buyers notice and one of the most common reasons for a lowball offer. Even a solid DIY repair significantly improves first impressions and can add $200–$500 to your private sale price, far outpacing the cost of the fix itself.
What's the difference between repairing fabric vs leather cigarette burns?
Fabric repairs rely on a backing patch with color-matched filler compound woven into the surface fibers. Leather repairs use flexible filler applied in thin heat-cured layers, then finished with a grain texture pad to replicate the original leather pattern. Leather repairs require more precision but produce a smoother, more seamless final result when done correctly.
Key Takeaways
- Most cigarette burns under 15mm can be fixed at home with a $20–$35 repair kit in under an hour.
- Proper surface prep — cleaning, trimming charred material, and light sanding — is the single most important step for a repair that actually lasts.
- Your repair approach depends on the material: fabric uses a patch-and-filler method, while leather and vinyl use thin layered filler compounds cured with heat.
- The smartest long-term strategy is prevention — a $30 seat cover or a portable ashtray costs far less than repeated repair work down the road.


About Chris Lewis
Chris Lewis developed a deep knowledge of automotive filtration, maintenance, and repair through years of hands-on experience working on vehicles — a passion rooted in time spent in his father's San Francisco auto shop from an early age. He has practical familiarity with air, oil, fuel, and cabin filter systems across a wide range of vehicle makes and models, along with experience evaluating the tools and equipment that serious DIY mechanics rely on. At MicrogreenFilter, he covers automotive and motorcycle filter reviews, maintenance guides, and automotive tool recommendations.
Get FREE Filters now. Or latest free tools from our best collections.
Disable Ad block to get all the secrets. Once done, hit any button below